Part 1 - Introduction
Introduction
For this first tutorial dedicated to the development of the Helios Launcher, we will modify the welcome page, change the logo, the name of the folder where the data are stored and the name of the launcher. We will also create the Helios Launcher fork and install the software required to properly develop the Helios Launcher.
Video
This tutorial is based on the video you can watch below (in French):
Licence
There was a time when the launcher was under custom license, now it is available under Licence MIT
Getting started: Creating a project fork
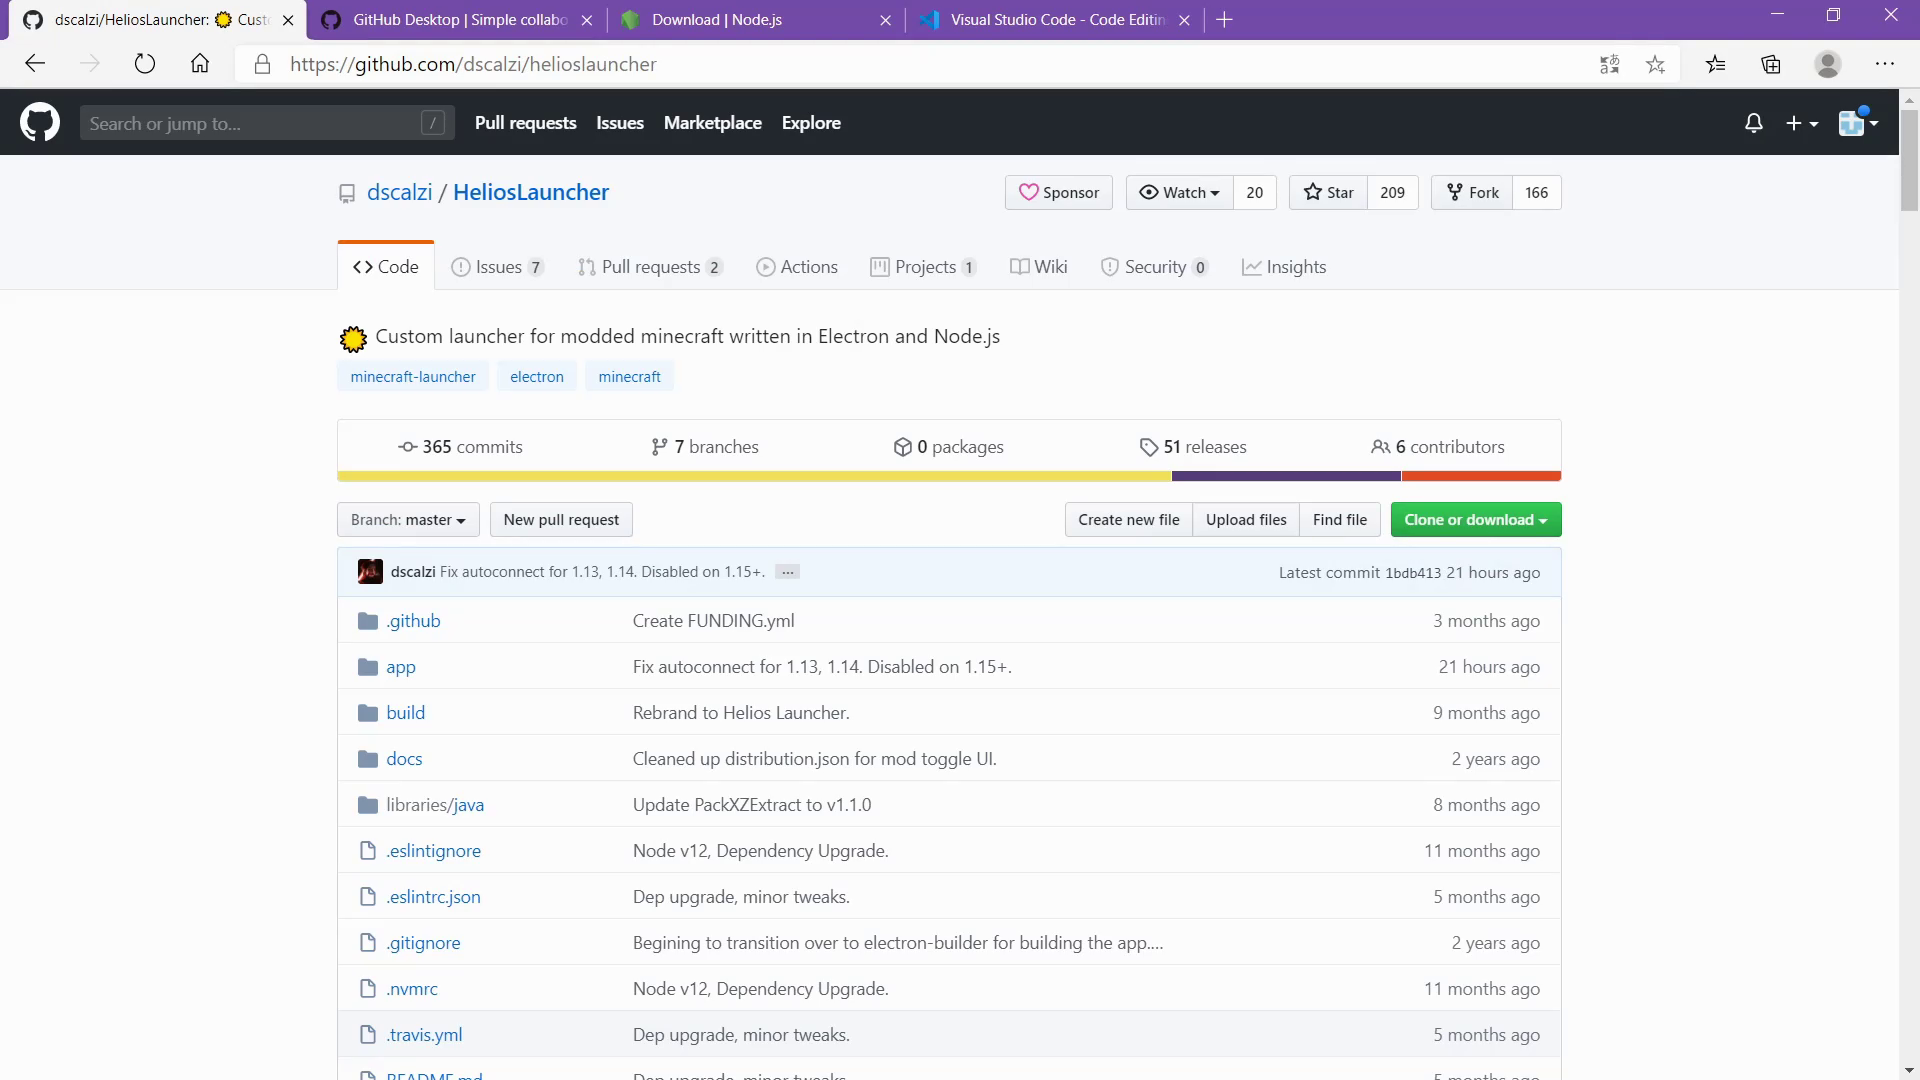
Start by creating a GitHub account, then go to the project page.

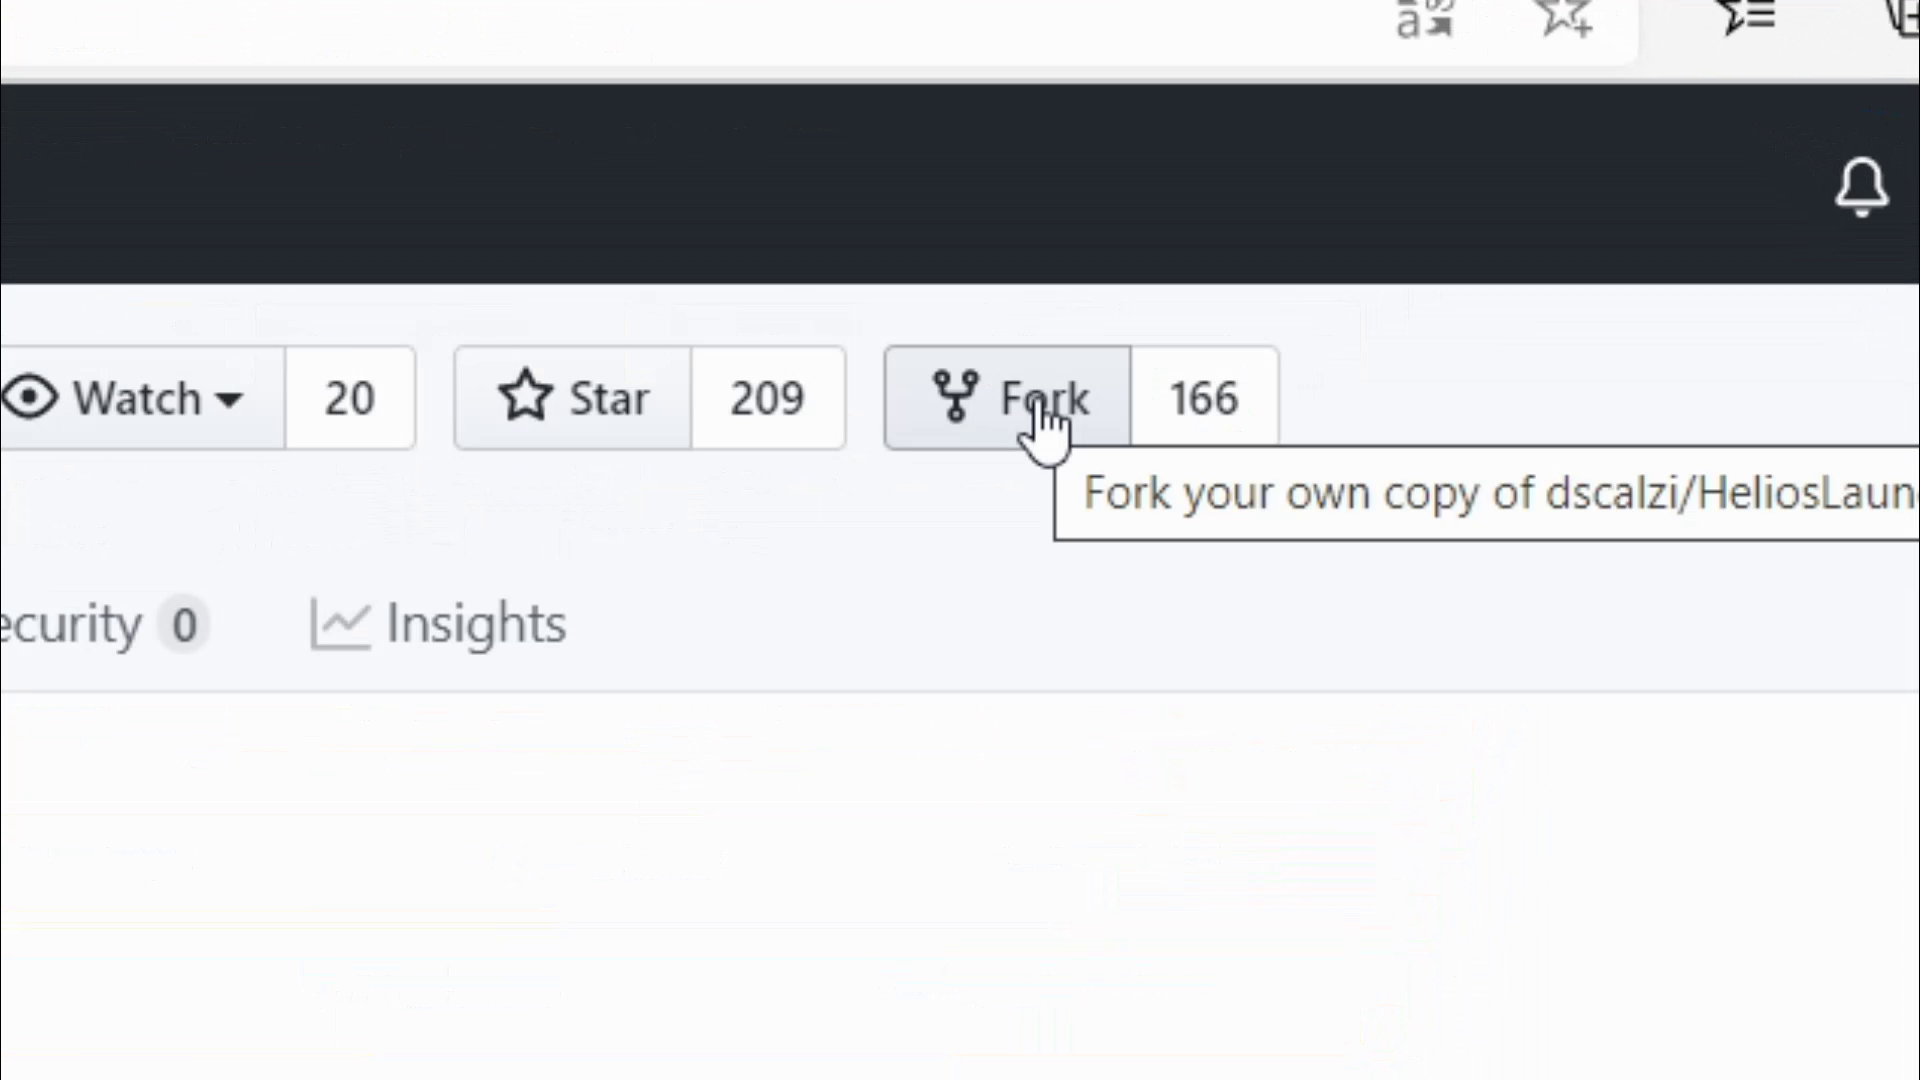
You then click on the Fork button.

Wait a few moments for GitHub to clone the Helios Launcher repo to your account. This step should not take more than 1 minute. So we can move on.
Change the launcher name on GitHub
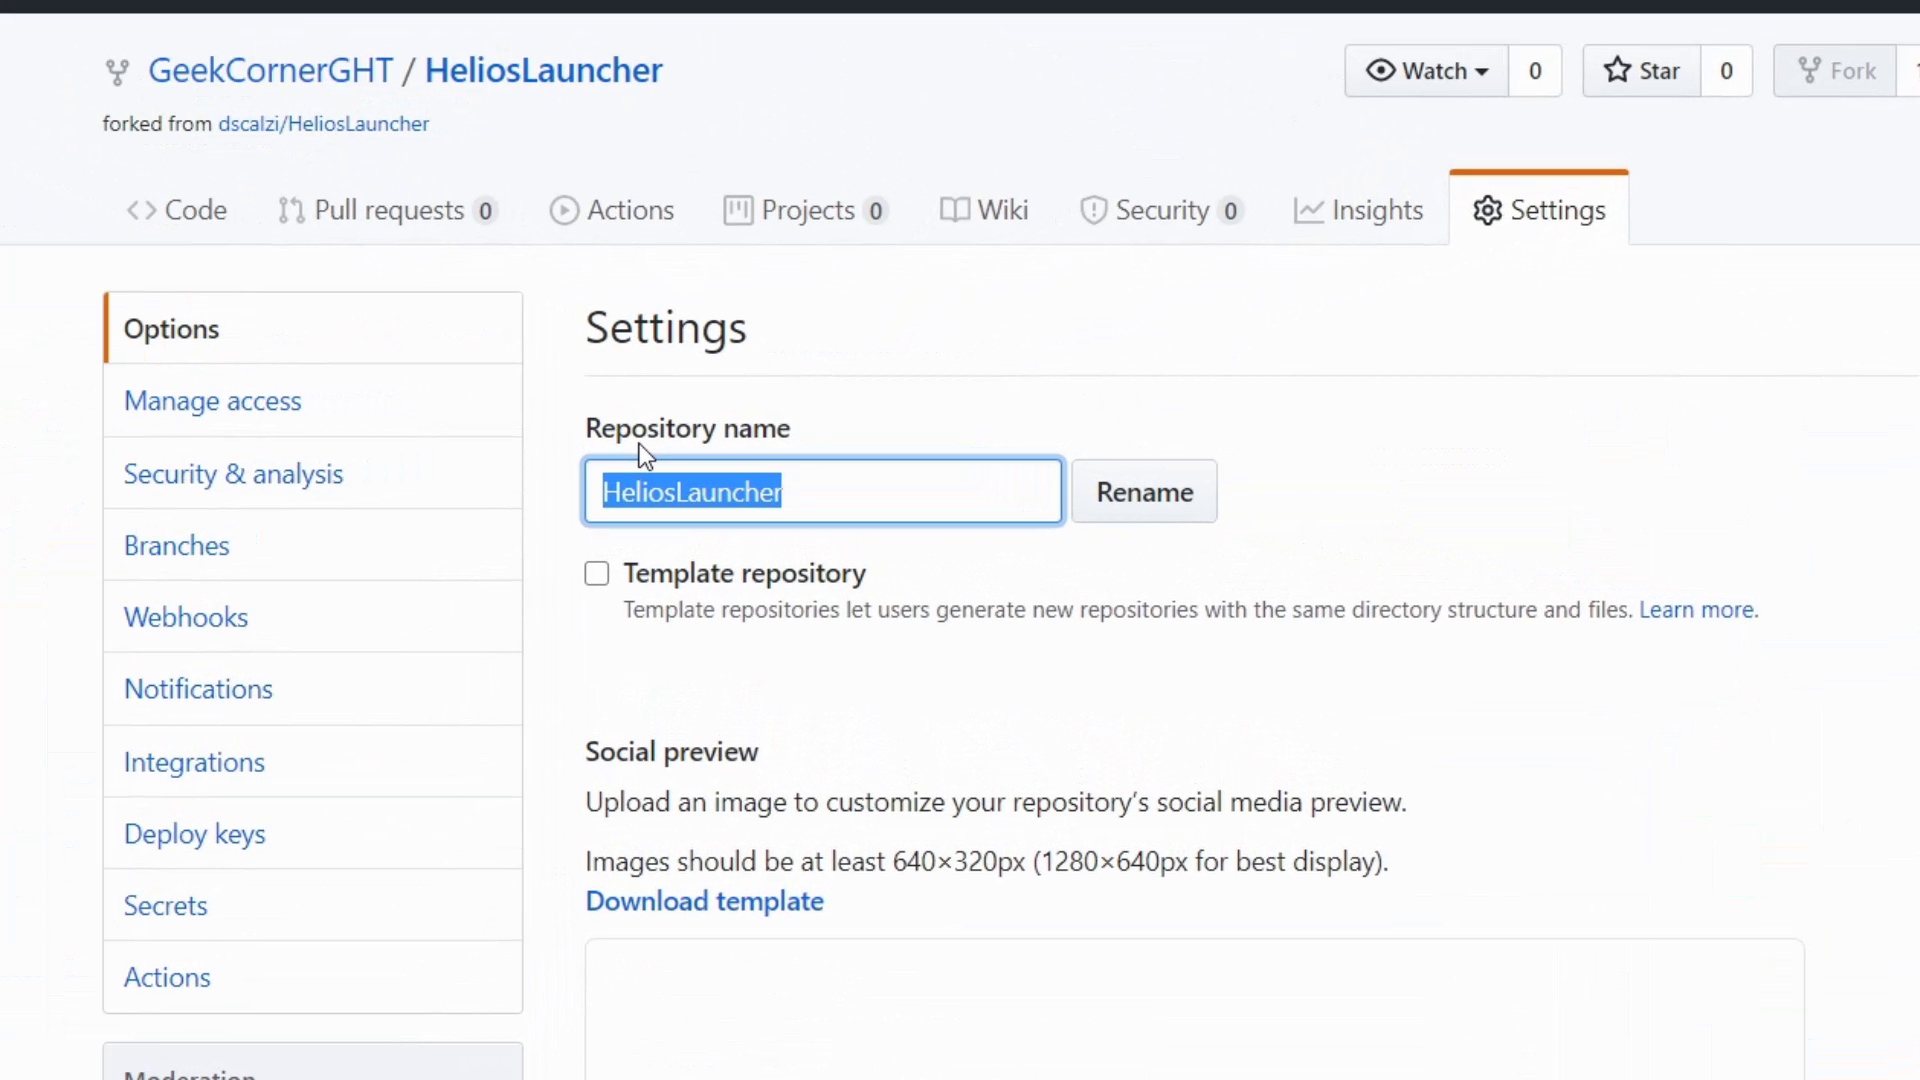
We are going to change the name of the GitHub fork, because we don't necessarily all want it to be called HeliosLauncher To avoid this, go to your repository settings:

You can change the name of your launcher by clicking on Rename

Install these programs in order to modify the source code
We will have to use 3 programs:
Node.JS
This software is used to execute the launcher code. It is to the launcher what the engine is to the car. To download it, go to the official website and download the latest LTS version for your computer.
GitHub Desktop
It will be used to "push" the modifications on GitHub. Go to here to download it. You'll then need to log into GitHub.
If you prefer, you can use another Git client, like Git, GitKraken, or Sourcetree.
Visual Studio Code
It is used to modify the source code of our launcher. You can download it for free from Microsoft's website.
If you prefer to use another code editor like Sublime Text or WebStorm, feel free.
Download the fork
We have created our fork, but we need to download it locally, so we will use GitHub Desktop.
Start the repository, then log in if you haven't already. Then press the Clone a repository from the internet button and select your fork.
Change the download location if necessary. Then press the Clone button
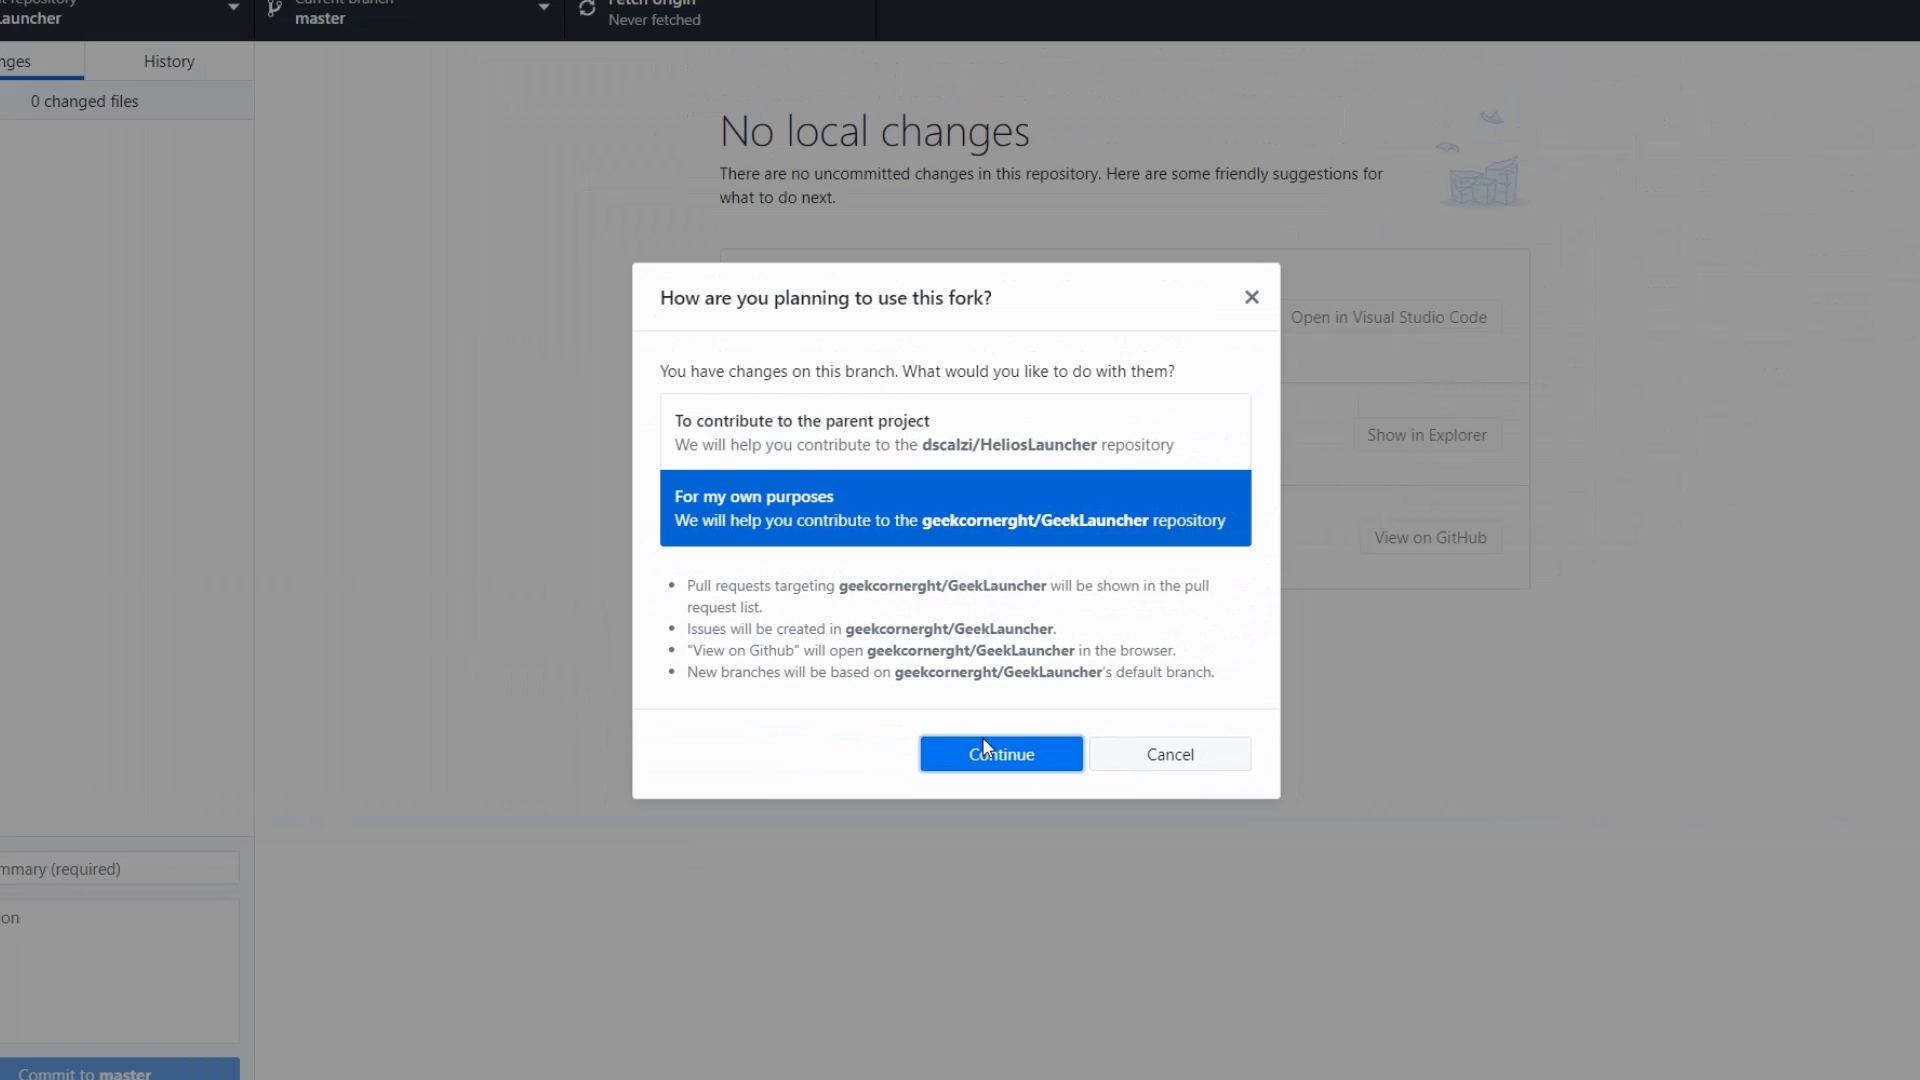
A popup will ask you how you want to use your fork. Answer with "For my own purposes", then validate.

Modify the fork
Edit launcher metadata
Click on Open with Visual Studio Code, then on the left, open the package.json file. Modify it to suit your needs. Below is an example:
{
  "name": "mylauncher",
  "version": "1.9.0",
  "productName": "My Launcher",
  "description": "Launcher to access My Server",
  "author": "Daniel Scalzi (https://github.com/dscalzi/) + yourname",
  "license": "UNLICENSED",
  "homepage": "https://github.com/pseudogithub/mylauncher",
  "bugs": {
    "url": "https://github.com/pseudogithub/mylauncher/issues"
  },
  "private": true,
  "main": "index.js",
  "scripts": {
    "start": "electron .",
    "dist": "electron-builder build",
    "dist:win": "npm run dist -- -w",
    "dist:mac": "npm run dist -- -m",
    "dist:linux": "npm run dist -- -l",
    "lint": "eslint --config .eslintrc.json ."
  },
  "engines": {
    "node": "16.x.x"
  },
  "dependencies": {
    "@electron/remote": "^2.0.8",
    "adm-zip": "^0.5.9",
    "async": "^3.2.4",
    "discord-rpc-patch": "^4.0.1",
    "ejs": "^3.1.8",
    "ejs-electron": "^2.1.1",
    "electron-updater": "^5.3.0",
    "fs-extra": "^10.1.0",
    "github-syntax-dark": "^0.5.0",
    "got": "^11.8.5",
    "helios-core": "~0.1.2",
    "jquery": "^3.6.1",
    "node-disk-info": "^1.3.0",
    "node-stream-zip": "^1.15.0",
    "request": "^2.88.2",
    "semver": "^7.3.8",
    "tar-fs": "^2.1.1",
    "winreg": "^1.2.4"
  },
  "devDependencies": {
    "electron": "^21.3.1",
    "electron-builder": "^23.6.0",
    "eslint": "^8.28.0"
  },
  "repository": {
    "type": "git",
    "url": "git+https://github.com/pseudogithub/mylauncher.git"
  }
}
Once the modification is done, install the dependencies via a Terminal window (Terminal --> New Terminal)
- npm
- Yarn
- pnpm
npm i
yarn install
pnpm i
Each time you modify the package.json file, you will have to run the command again:
- npm
- Yarn
- pnpm
npm i
yarn install
pnpm i
Change the name of the launcher
Open app/frame.ejs and around line 16, change "Helios Launcher" to the name of your launcher.
            <div id="frameContentWin">
                <div id="frameTitleDock">
-                <span id="frameTitleText">Helios Launcher</span>
+                <span id="frameTitleText">My Launcher</span>
                </div>
                <div id="frameButtonDockWin">`
Then under app/app.ejs, change the text in the <title> tag:
<head>
    <meta charset="utf-8" http-equiv="Content-Security-Policy" content="script-src 'self' 'sha256-In6B8teKZQll5heMl9bS7CESTbGvuAt3VVV86BUQBDk='"/>
-    <title>Helios Launcher</title>
+    <title>My Launcher</title>
    <script src="./assets/js/scripts/uicore.js"></script>
    <script src="./assets/js/scripts/uibinder.js"></script>
Change logos
On GitHub Desktop, click on Repository --> Show in explorer
Open the folder app/assets/images/. SealCircle.png is the logo in the background of the loading page.
Finally, go back to the root of your launcher, under build, replace the icon.png logo by your logo.
Change the welcome text
Under app/welcome.ejs, change the welcome text:
    <div id="welcomeContent">
        <img id="welcomeImageSeal" src="assets/images/SealCircle.png"/>
-        <span id="welcomeHeader">WELCOME TO WESTEROSCRAFT</span>
+        <span id="welcomeHeader">WELCOME TO MY SERVER</span>
-        <span id="welcomeDescription">Our mission is to recreate the universe imagined by author George RR Martin in his fantasy series, A Song of Ice and Fire.  Through the collaborative effort of thousands of community members, we have sought to create Westeros as accurately and precisely as possible within Minecraft.  The world we are creating is yours to explore.  Journey from Dorne to Castle Black, and if you aren’t afraid, beyond the Wall itself, but best not delay.  As the words of House Stark ominously warn: Winter is Coming.</span>
+        <span id="welcomeDescription">We wish you a good time on the server</span>
        <br>
-        <span id="welcomeDescCTA">You are just a few clicks away from Westeros.</span>
+        <span id="welcomeDescCTA">Get ready for an unforgettable adventure.</span>
        <button id="welcomeButton">
            <div id="welcomeButtonContent">
-                CONTINUER
+                CONTINUE
                <svg id="welcomeSVG" viewBox="0 0 24.87 13.97">
                    <defs>
Change the launcher data folder
By default, Helios launcher will store its data in the ".helioslauncher" folder located at the following location:
- Windows
- macOS
- Linux
%APPDATA%.helioslauncher~/Library/Application Support/.helioslauncher~/.helioslauncherTo change this, just change one line in app/assets/js/configmanager.js
const sysRoot = process.env.APPDATA || (process.platform == 'darwin' ? process.env.HOME + '/Library/Application Support' : process.env.HOME)
// TODO change
- const dataPath = path.join(sysRoot, '.helioslauncher')
+ const dataPath = path.join(sysRoot, '.mylauncher')

// Forked processes do not have access to electron, so we have this workaround.
If you have already launched your launcher, you will have to delete the folder with the name of your launcher, as below
- Windows
- macOS
- Linux
%APPDATA%\My Launcher~/Library/Application Support/My Launcher$XDG_CONFIG_HOME/Helios Launcher or ~/.config/Helios LauncherTest the changes
Launch
- npm
- Yarn
- pnpm
npm start
yarn start
pnpm start
and see if the changes are applied
Send changes to GitHub
Go back to GitHub Desktop, and fill in the form at the bottom left, indicating what changes you've made (or not, but that's basically what these fields are for), then press Commit to master. Then press Push origin at the top.